Events Tickets
- Create new event as normal
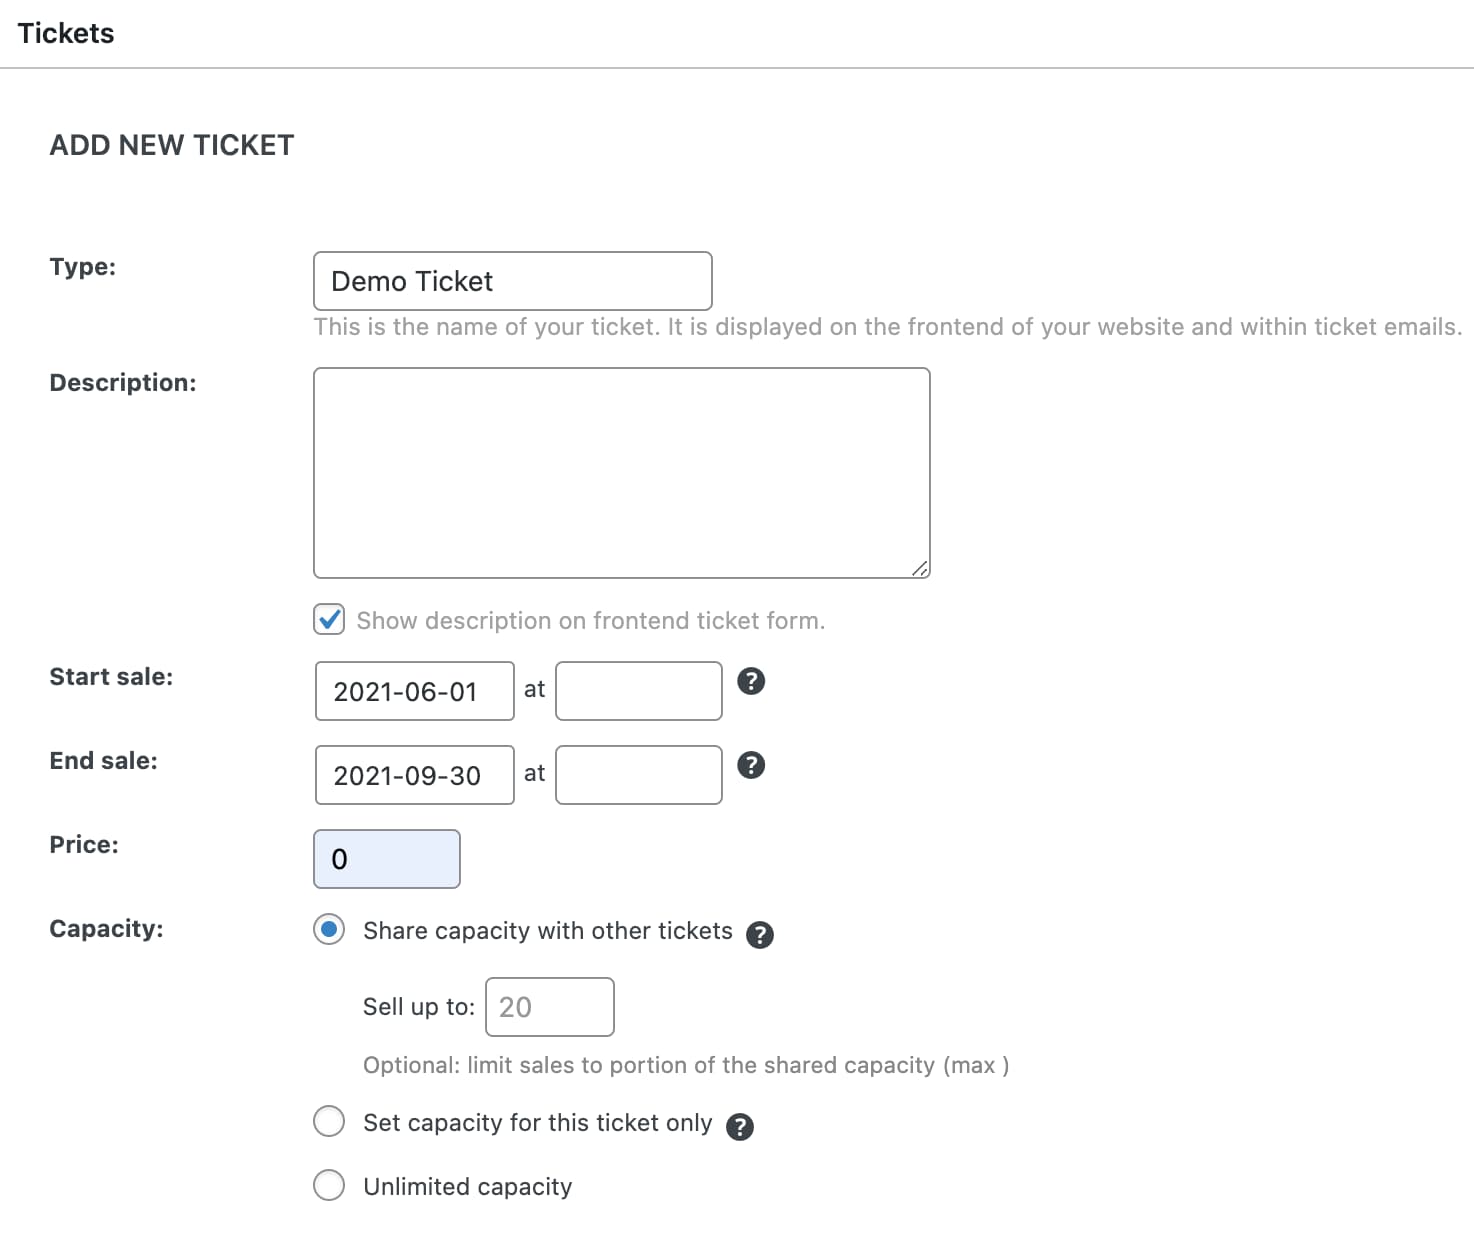
- Choose “New Ticket”
- Create Tickets. Add ticket name, start and end sale dates, and price. If this is to be a free ticket, set the price to 0. If there will be multiple tickets with a limited total number of tickets, be sure to select “Share Capacity with other tickets” and set the “Sell up to:” field to the total number of tickets there are available for the event/class.
- Set up “Attendee Collection” and “Attendee Information” as you normally would for an RSVP.
Note: Currently only one paid ticket and one free ticket is supported at this time.
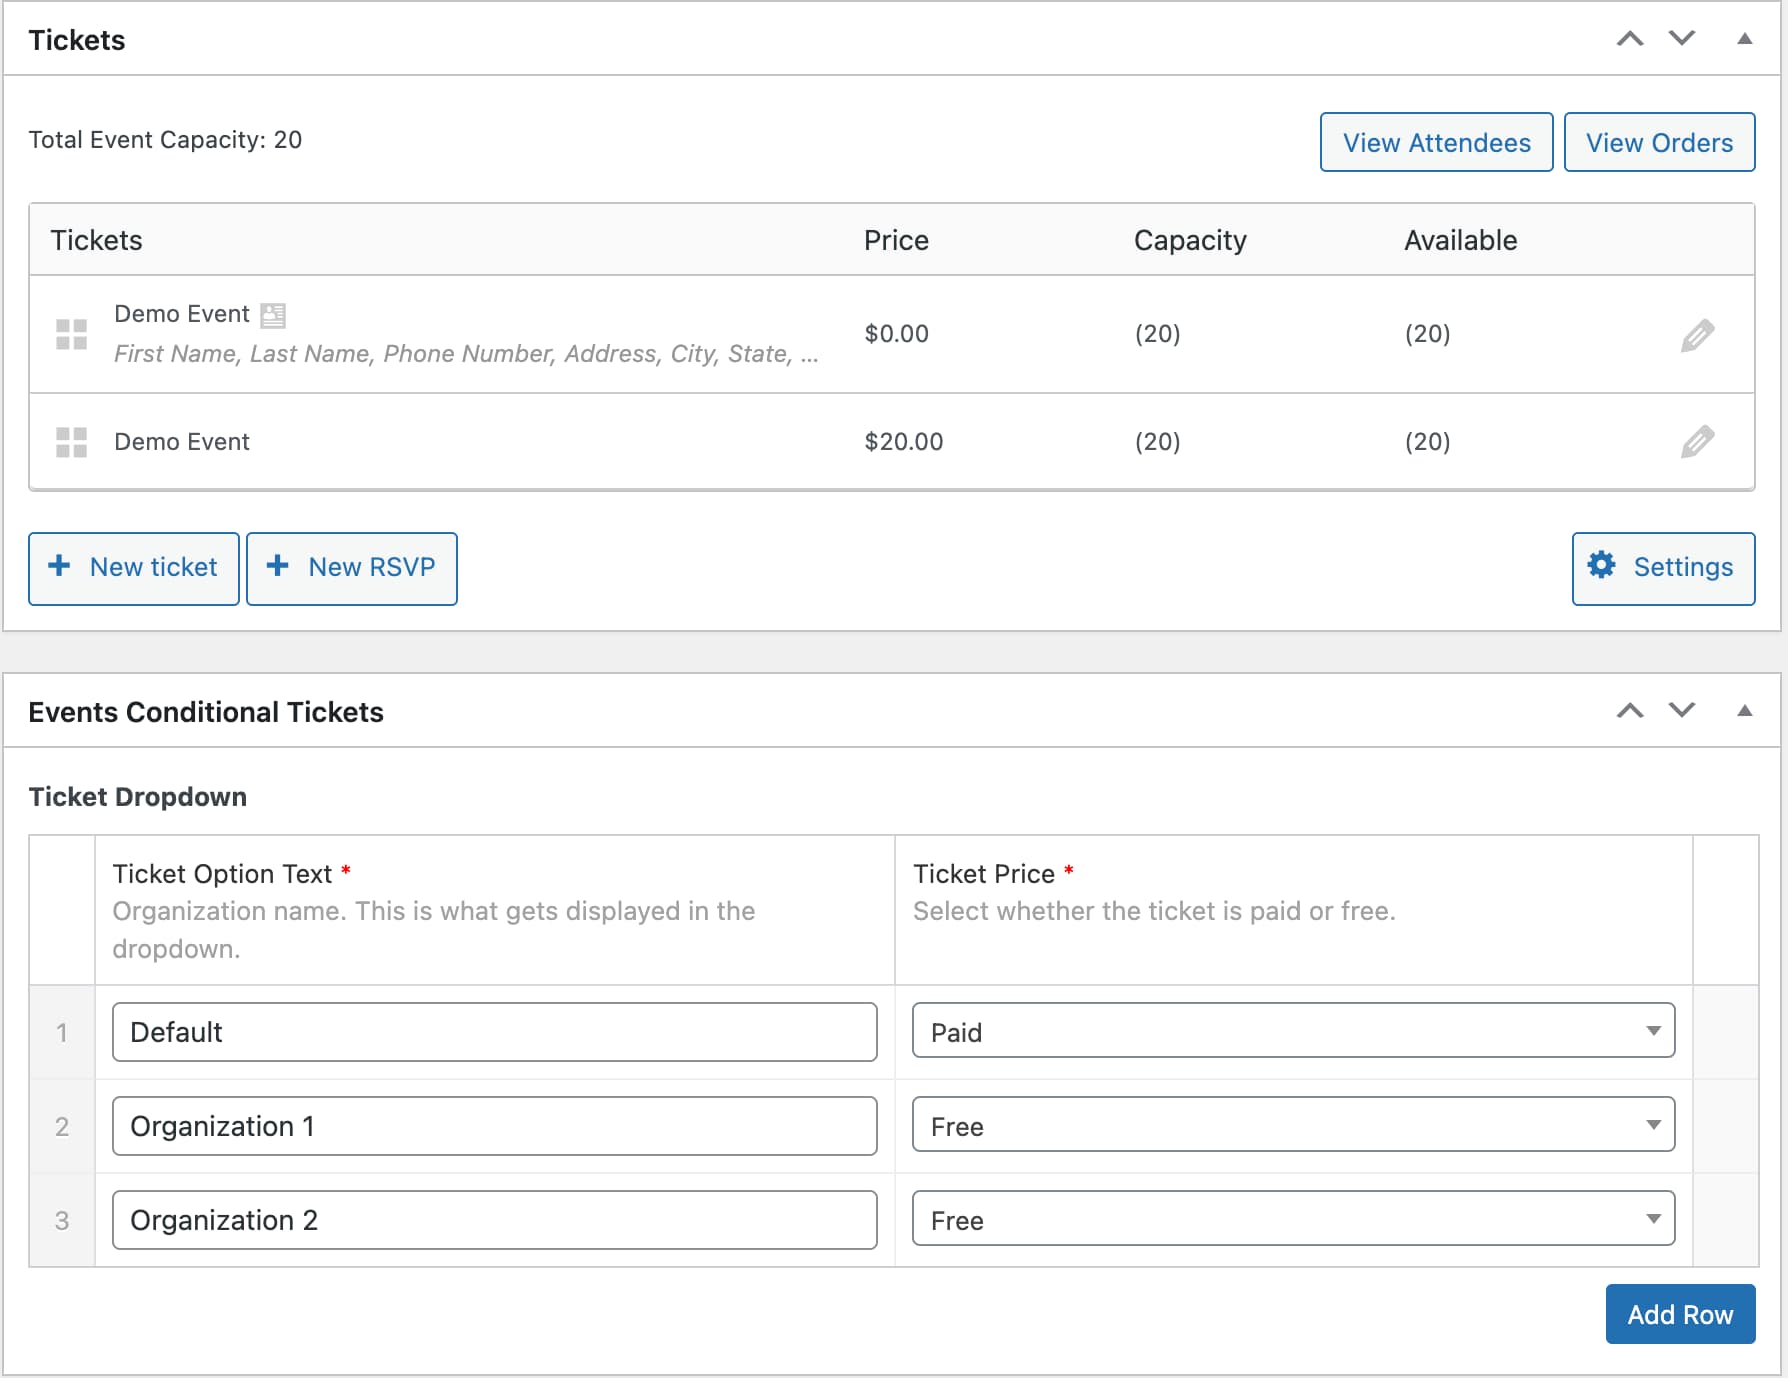
- After Tickets have been created, add the tickets to the “Events Conditional Tickets” custom fields.
- Add the organization name under “Ticket Option Text” for each organization you need and select whether the ticket is paid or not.
Chatmeter Widgets

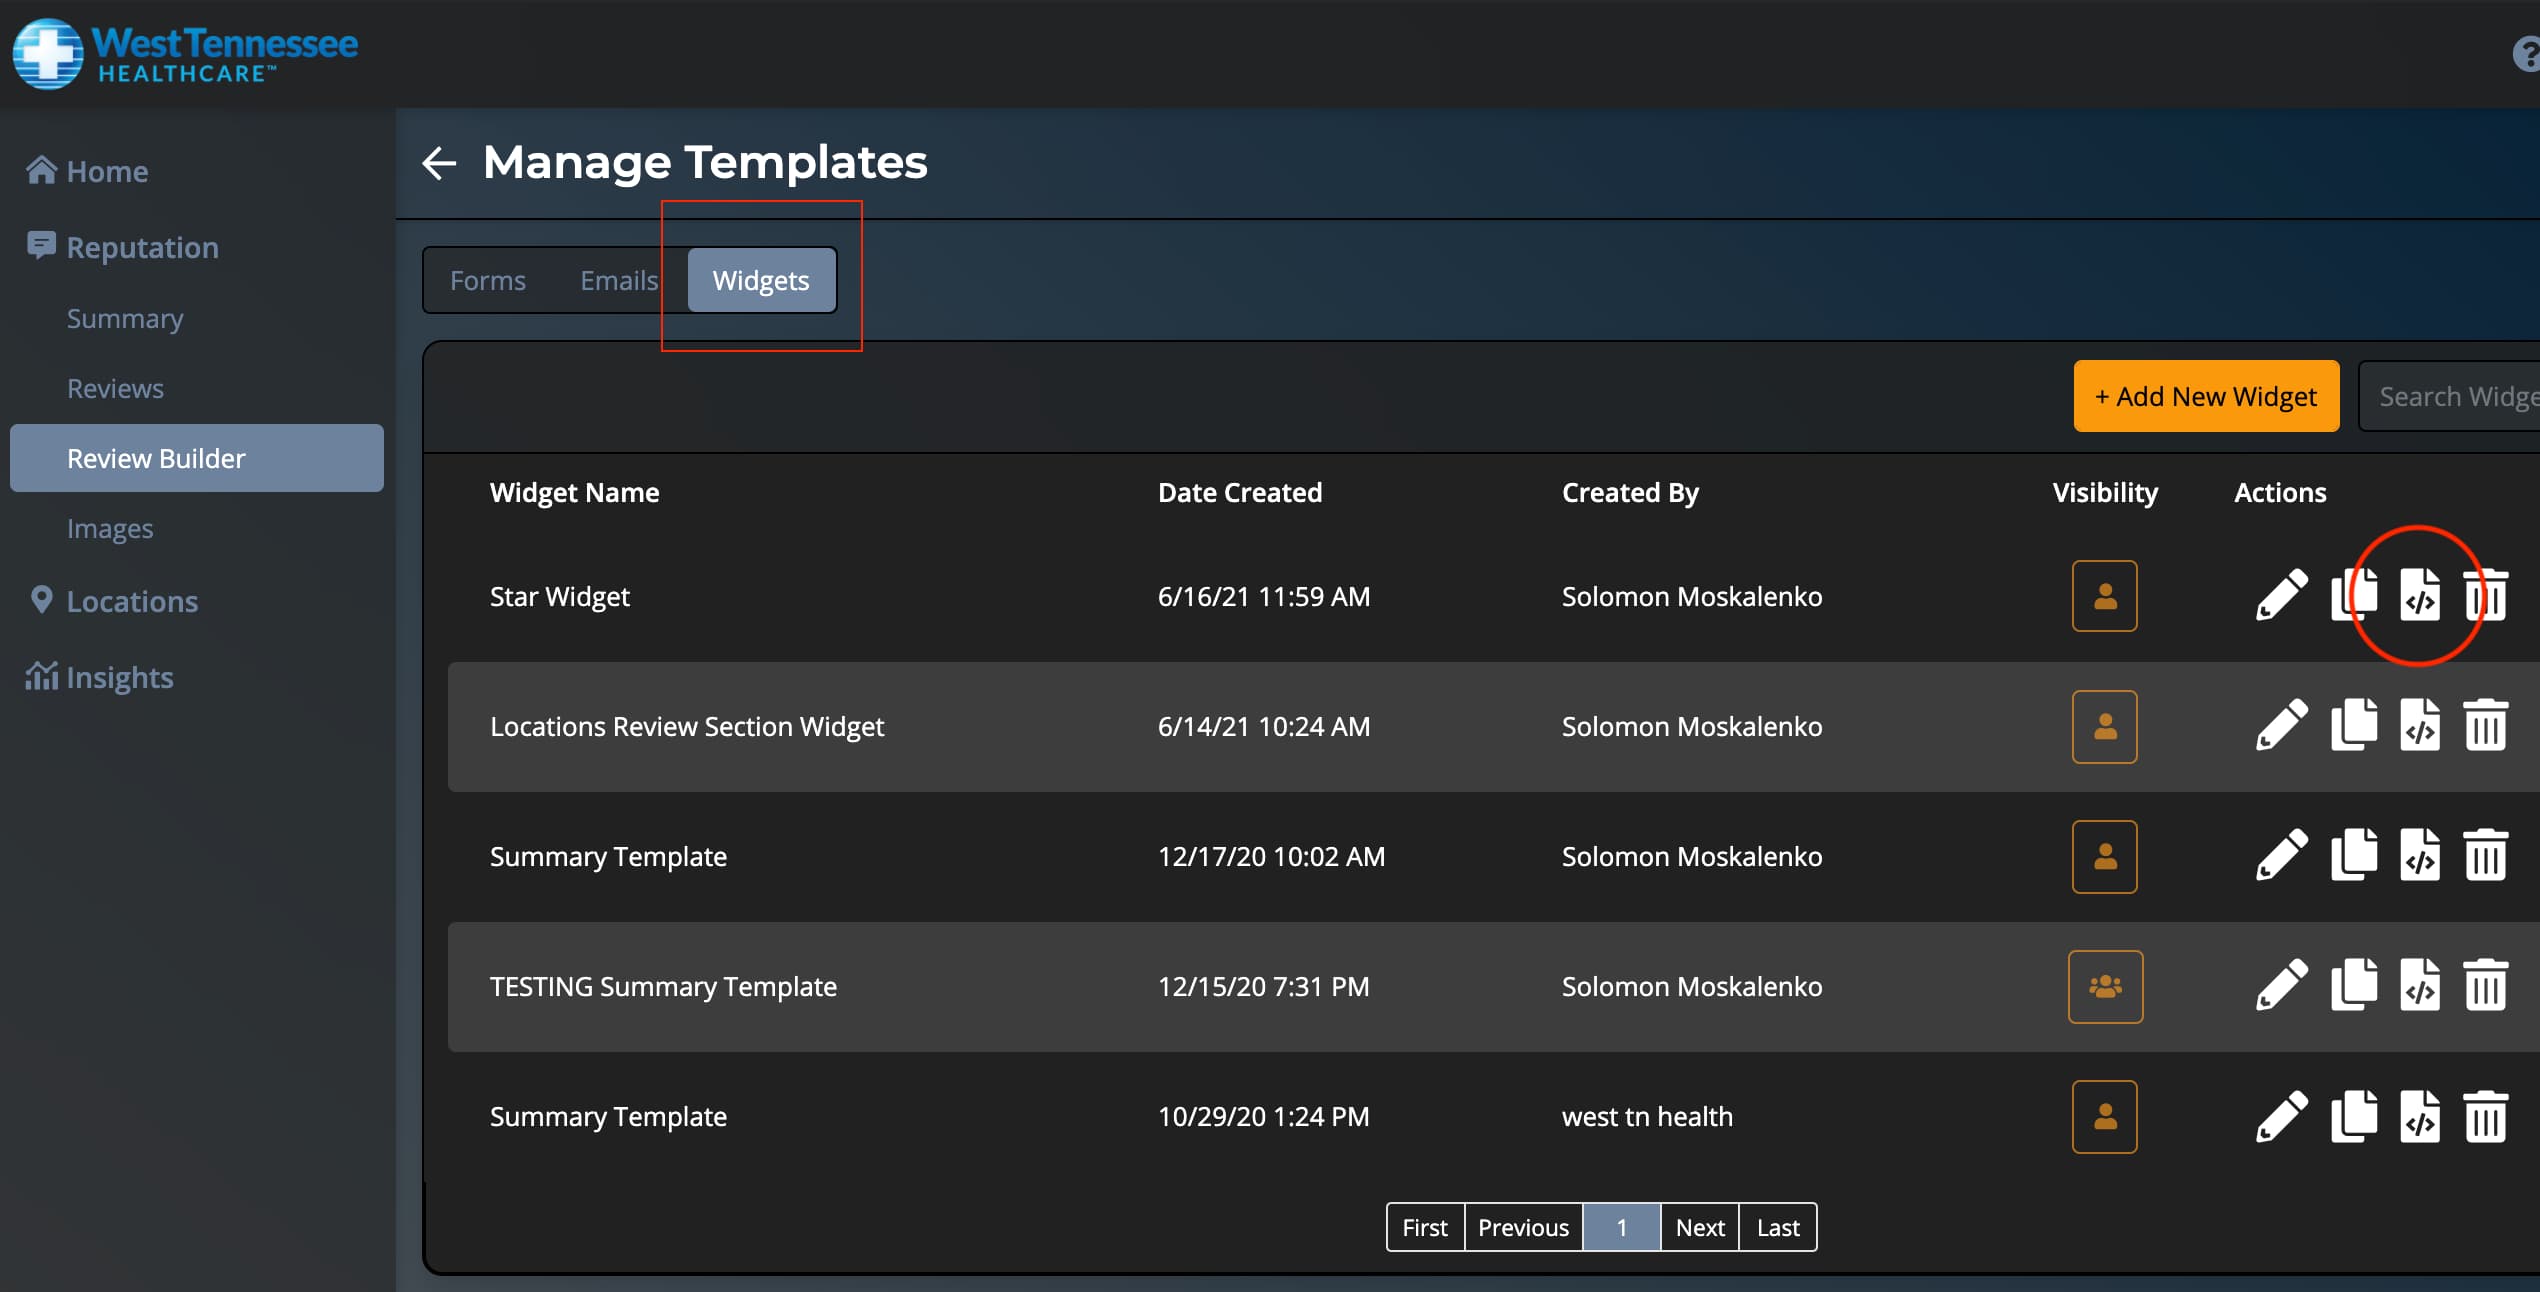
From the Chatmeter dashboard, select “Review Builder” from the sidebar and then click “Manage Templates” at the top of the pane.
From the “Manage Templates” pane, select “Widgets” at the top of the page, and click the embed code button for the widget that you’re needing. Currently only the Star Widget and the Locations Review Section Widget are in use.
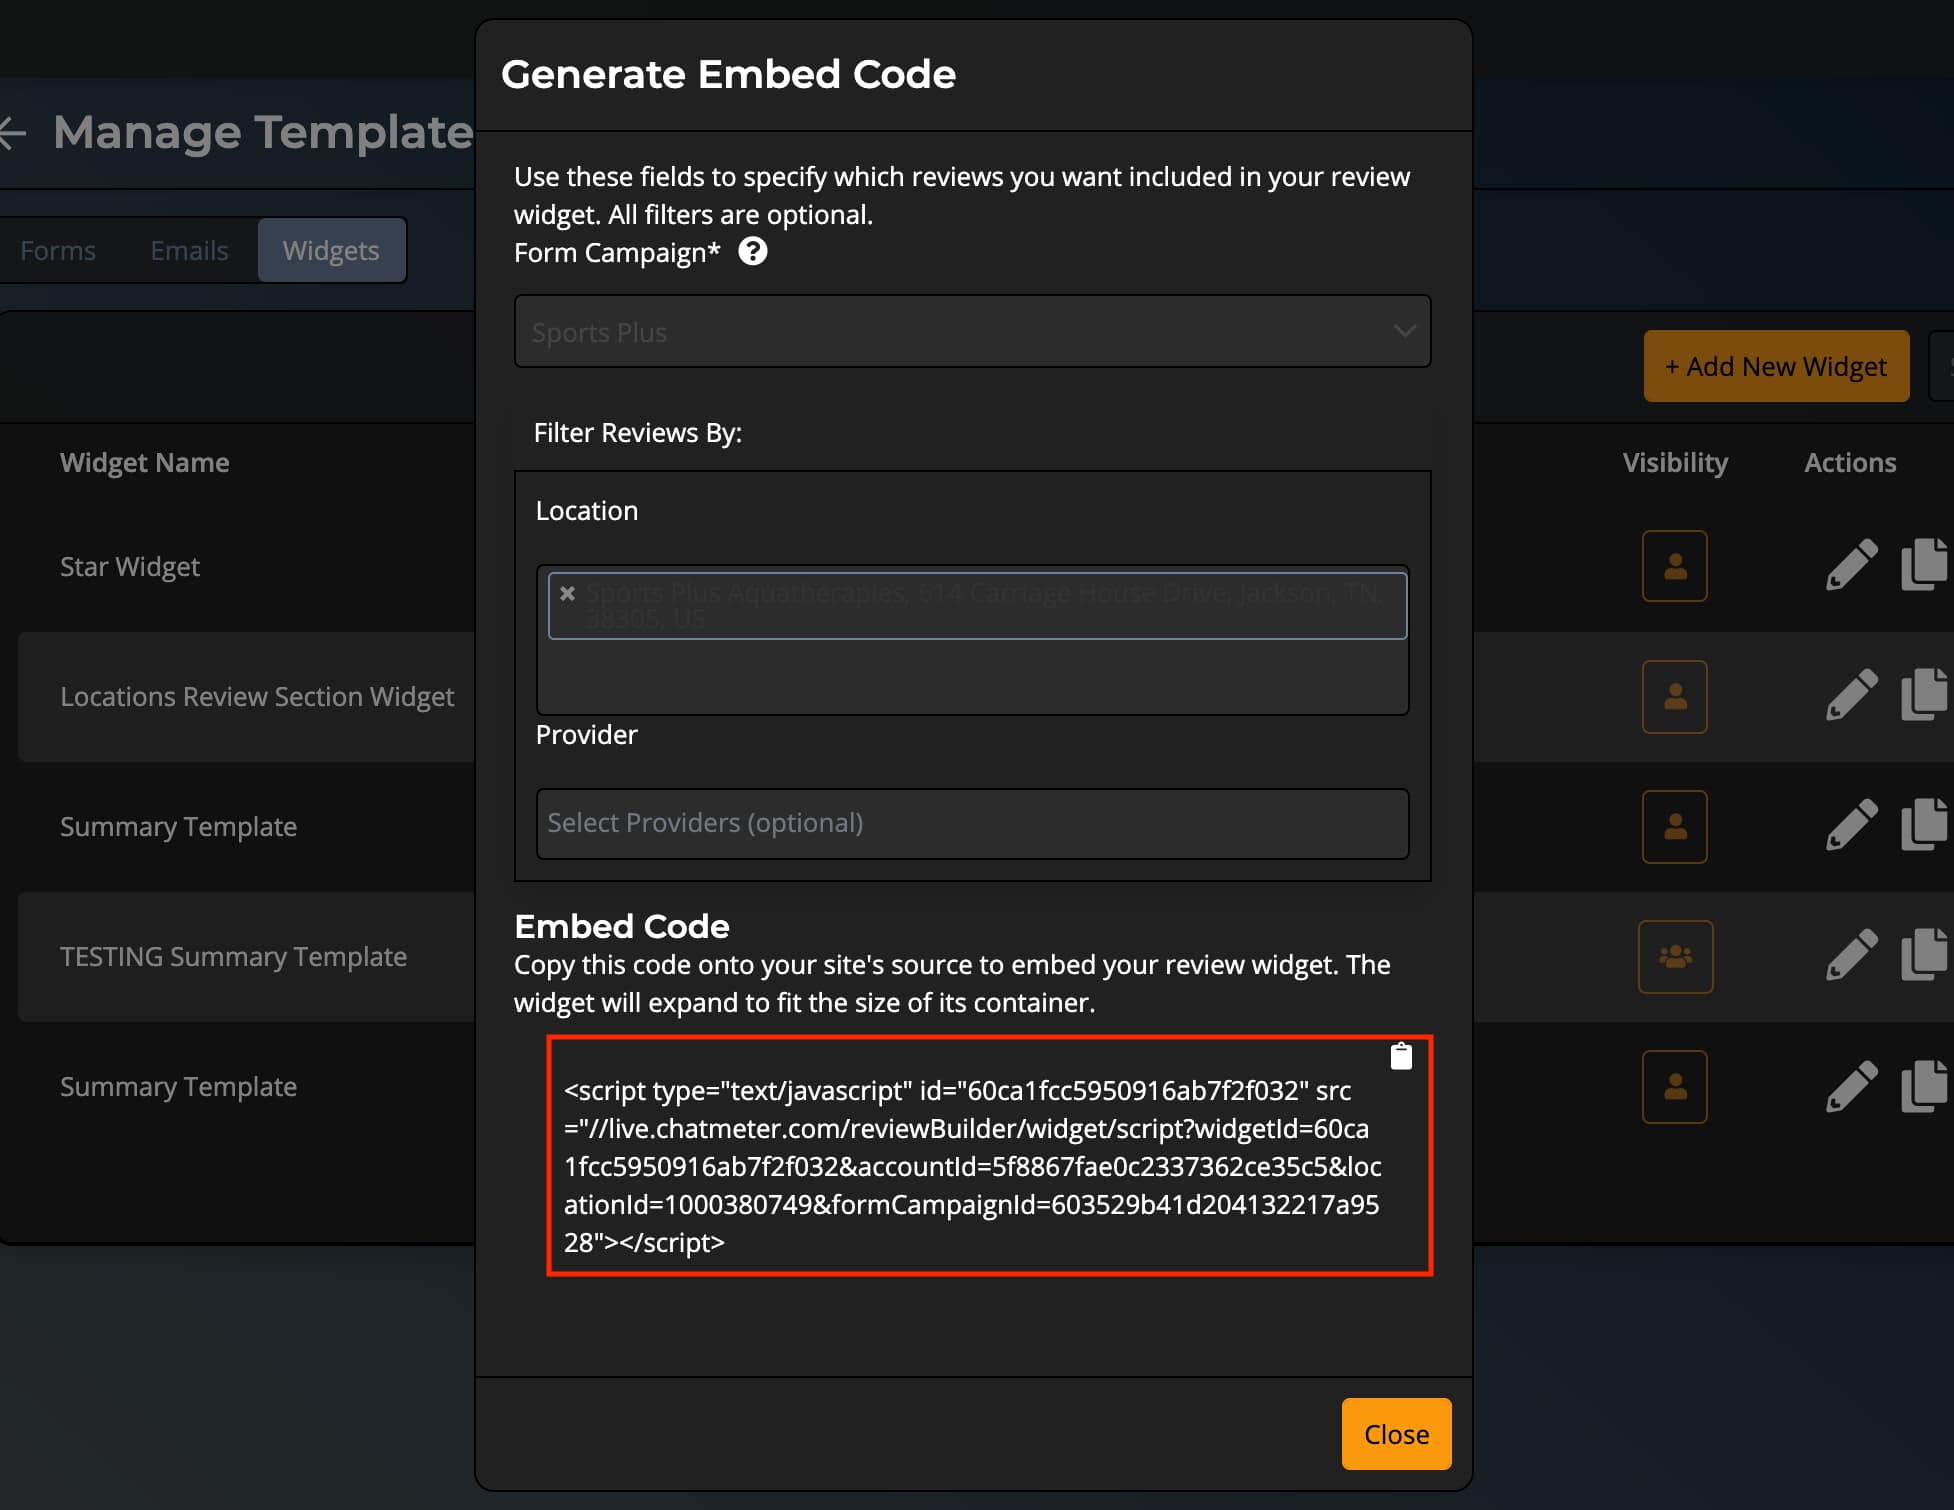
From the popup, select the campaign type and location from the dropdowns and copy the embed script that gets generated down below.
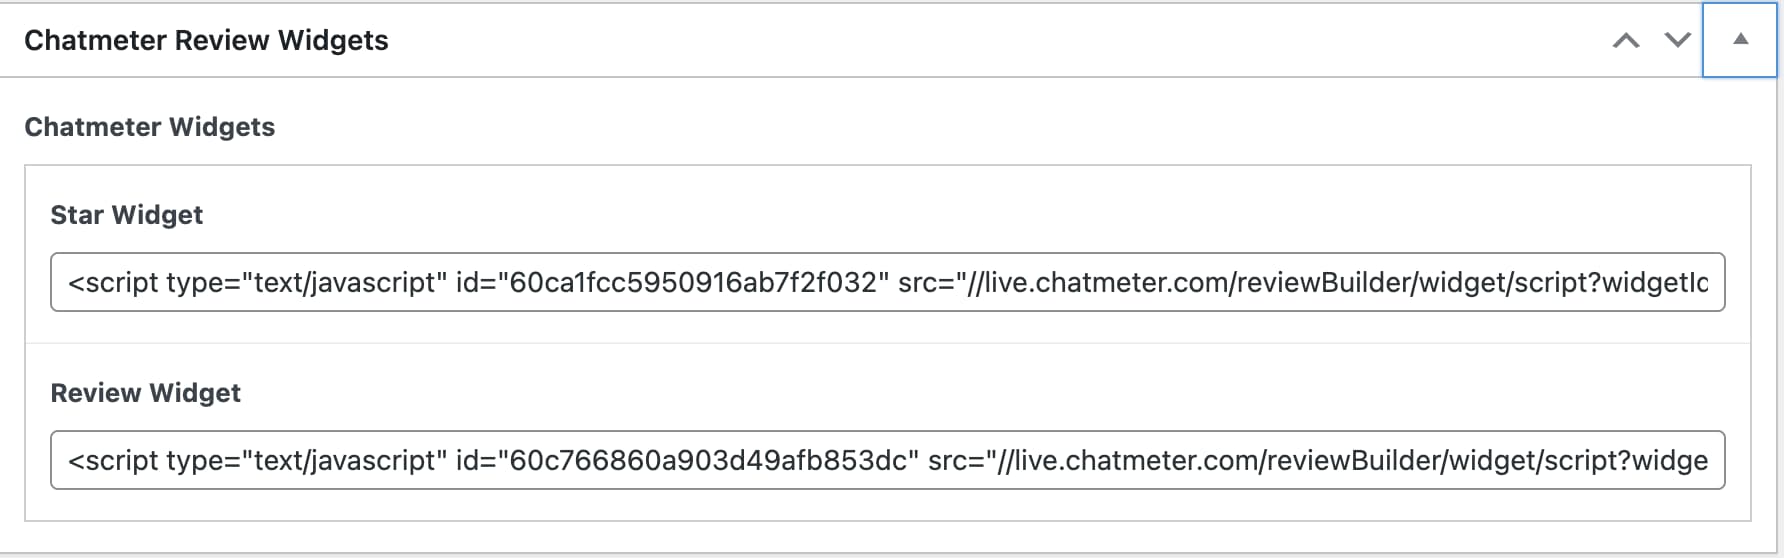
Enter the embed code copied from Chatmeter into the “Chatmeter Review Widgets” fields on the applicable location page editor on wth.org and update the page. Be sure to put the correct embed codes into the correct fields as specified by the widget type.